1st step you will execute the software and the
following windows will appear on your computer screen:
After selecting the option the following windows will appear
on your computer screen:
All the information is same as I've mentioned in my old blog
post “how to maintain customers”.
In the above windows we will write the vendor’s ID and then
the name of the vendor and in the general tab we will provide all the
information about our vendor which will be useful for us to contact our vendor.
After that there is the tab of Purchase Default:
From this tab we will just select the account that will be affected
due to our purchases:
Whenever we will purchase our inventory account will be
debited as it is mentioned in the charts of accounts.
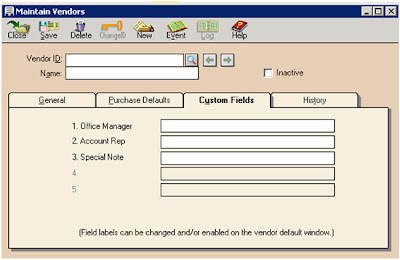
The next tab is Custom Fields as shown below:
In this tab you can enter the information about your vendors.
The history tab will show you all the transactions with you
vendors in the past:
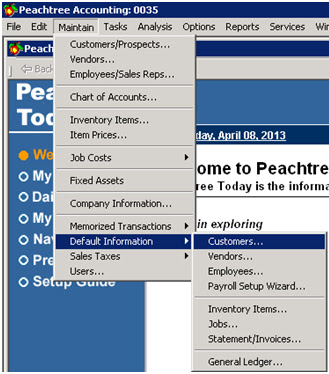
The next step is how to edit, enter or amend the information
regarding your vendors:
After selecting the option of vendor the following window
will appear on your computer screen:
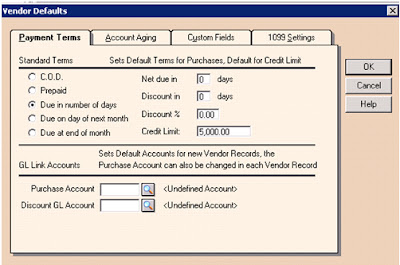
This window contains different terms listed under “standard
terms” and they are explained below:
1. Payment
Terms:
By default the option that is selected is “Due in number of
days” and next to it the related information is provided Net due in (days),
Discount in (days), Discount %, Credit limit.
The term that is selected shows us that the amount of
payment will be due in 30 days and if the customer pays us the amount within 10
days then he can avail 2% discount on the payment.
Accounting Presentation: “2/10,n/30”.
Now the other options that are available for you to select
are C.O.D: in the below image you can see that the 1st three
columns are freeze and only the column of credit limit is active. This shows
that we are not giving any discounts to our customer and we are just receiving
the Cash onDelivery (C.O.D).
If we select the option “Due on day of next month”
this means that we will receive payment from our customer in the coming month
e.g if we make sales in March then we will receive the payment from them in
April and the information will be provided in the next columns.
And last if we select the option of “Due At end of month”
then it means that we will receive the payment at the end of the month during
which we have made the sales.
2. Account
Aging:
By selecting this option following window will appear on
your computer screen.
In this option we do the forecasting of our bad debts and we
can see this tab is further divided into 2 options: “Age Invoice by and Aging
Categories”
In age invoices by the invoice date is showing that we will
set the date to when the invoice is generated. And by selecting due date we are
setting the time when our invoice date will be expired.
The Aging Categories portion is the one where we categorize
the time periods.
3. Custom
Fields:
As I've explained before that there was a column
in which you can enter extra information about customers and also can edit the
questions or explanations that you want to add regarding your customers so for
that you use the following tab.


No comments:
Post a Comment